
Quick Start
This guide walks you through installing Harp, creating a small project, serving it locally, and compiling it to static files.
Install the Harp web server
Harp runs on Node.js, so you’ll need that first. Once Node.js is installed, install Harp globally with npm:
npm install -g harp
Verify the install:
harp -v
See Install for full details and troubleshooting.
Create a project
A Harp project is just a directory with template files in it. Make a folder and drop an index page inside:
mkdir hello-world
cd hello-world
echo "<h1>Hello, Harp!</h1>" > index.ejs
That’s it — you have a working Harp project. The .ejs extension tells Harp to run the file through its template engine, even though this particular file doesn’t use any template syntax yet.
Serve it
Run harp against the directory:
harp .
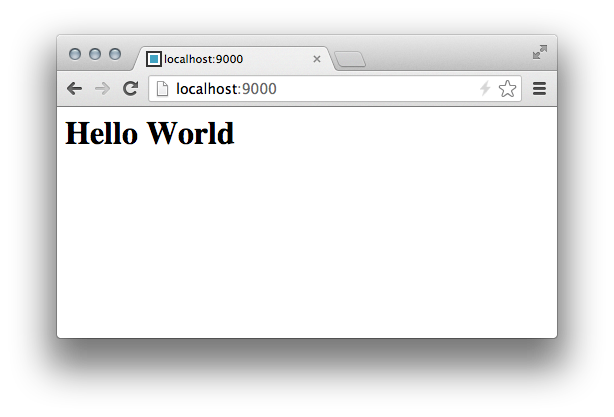
Visit localhost:9000 and you’ll see your page:
Edit index.ejs, refresh your browser, and the change shows up. (Harp doesn’t auto-reload — refresh manually.)
Compile to static files
When you’re ready to deploy, give harp a destination directory and it’ll produce a flat folder of static HTML, CSS, and JavaScript:
harp . ./www
The output in www/ is deployable to any static host: Amazon S3, Netlify, GitHub Pages, Cloudflare Pages, or your own server.
Running in production
If you’d rather run Harp itself as the web server — so features like Basic Authentication and 200/404 fallbacks keep working — set NODE_ENV=production for additional caching:
NODE_ENV=production harp . --port 9000
See the CLI reference for all flags and options.
What’s next
This is just a taste of what Harp can do. For example, you can drop a .less (or .scss, .styl, .sass) file into your project and it’s automatically served as .css — no configuration necessary. The same goes for .coffee, .cjs, and .jsx source files, which compile to .js.
Next up: read The Rules for a one-page tour of how Harp organizes a project, then dig into Layouts, Partials, and Metadata.